shape
carat
color
clarity

Mike Robinson Making the Phoenix - a Mini Series

klewis

Brilliant_Rock
Joined
Dec 21, 2008
Messages
871
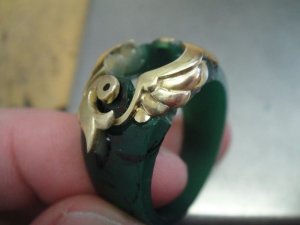
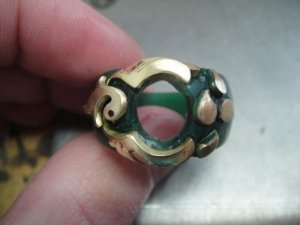
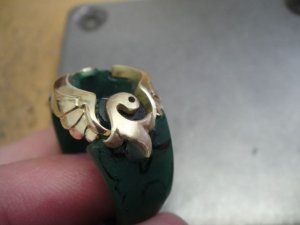
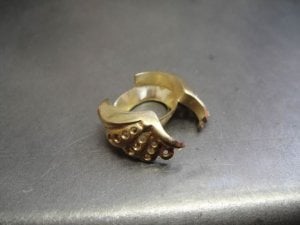
I just had to share these progression pics because I found it so interesting myself. Strictly speaking this is not the correct thread for this but I hope you'll be lenient, since this is more-or-less where it started.

I decided to include all Mike's photos and his comments but rather than do it all in one go, I thought it would be easier to spread it over 4 days.
There are about 45 individual pieces that make up this ring.


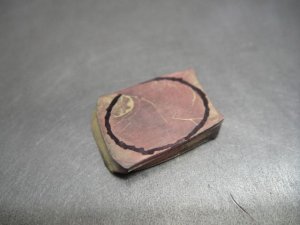
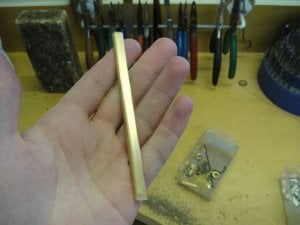
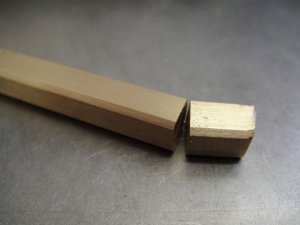
18ct yellow gold bar I used to make your ring from, your entire ring in this bar.


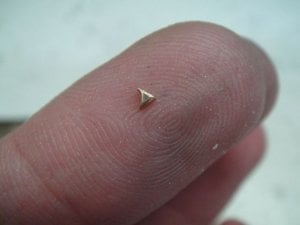
All the pieces I make start off in a square bar like this. This pic shows the first small piece of gold cut off to form the under bezel for your Spess
3.jpg

11.jpg
 

klewis

Brilliant_Rock
Joined
Dec 21, 2008
Messages
871
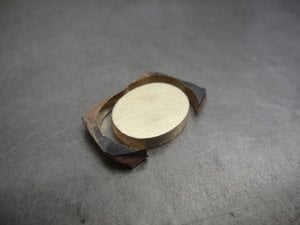
The first thing I always make when starting a project is the setting for the main gem, I very carefully trace around the stone and cut it out from a flat plate. Another way would be to bend up a piece of wire to the correct shape and solder the ends together to form the bezel, but by cutting out of a plate like this it saves having a join in the bezel and makes for a stronger piece.


Bezel cut out from the piece of 18ct.

5.jpg

7.jpg
 

klewis

Brilliant_Rock
Joined
Dec 21, 2008
Messages
871
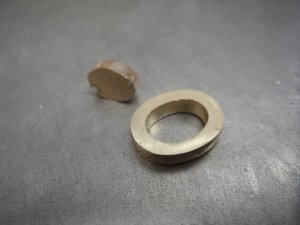
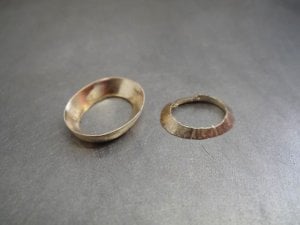
The inside of the bezel is cut out to allow the stone to sit inside it.


Next I cut a bevel on the inside of the bezel to allow the stone to sit lower within it.

8.jpg

9.jpg
 

klewis

Brilliant_Rock
Joined
Dec 21, 2008
Messages
871
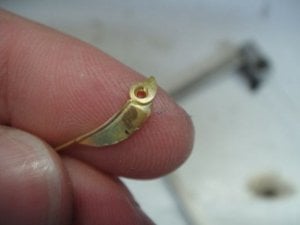
Now with the under bezel done I can start building out from it. This is the start of one of the wing pieces, I draw the shape on allowing a little room for final fitting.


then cut the piece out and start bending it to fit with the under bezel and also to form the dome shape I want on the final ring.

12.jpg

13.jpg
 

klewis

Brilliant_Rock
Joined
Dec 21, 2008
Messages
871
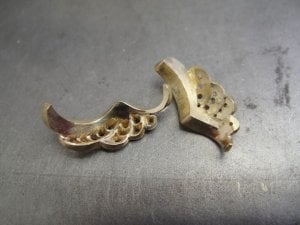
Next I cut out all the individual wing feathers ready to be soldered to the wing.

14.jpg

16.jpg
 

klewis

Brilliant_Rock
Joined
Dec 21, 2008
Messages
871
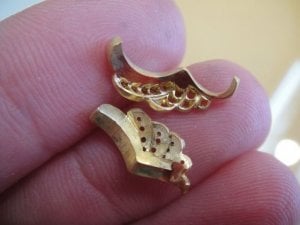
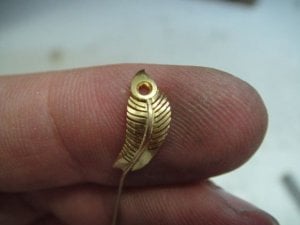
One of the wings with all the feathers soldered in place


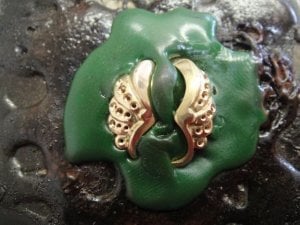
This photo shows the wings set in wax, the wax hold the pieces safely while drilling the holes for the small sapphires.

17.jpg

18.jpg
 

klewis

Brilliant_Rock
Joined
Dec 21, 2008
Messages
871
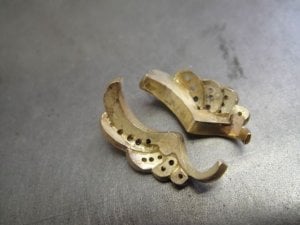
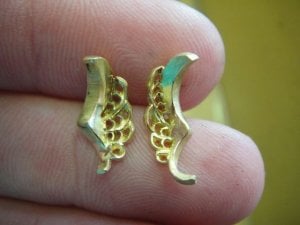
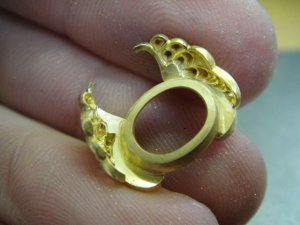
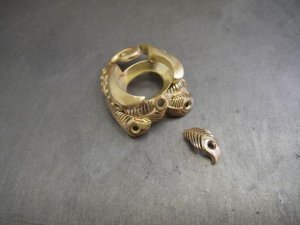
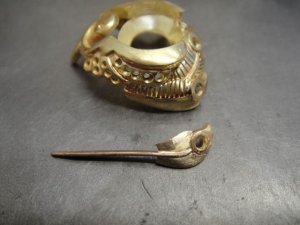
This pic shows the back or inside of the wings after drilling holes for the pave work on the front.


I like to make sure my pieces look as good as they can from all angles so I finish the back holes by cutting small cells that give them a more finished look. This is done by inserting a small saw blade and carefully cutting on just the correct angle that opens the back without affecting the roundness of the hole at the front. If you cut on the wrong angle and cut into the hole on the front you will not be able to set a stone in it and will have to remake the piece. The difficult thing is you can't see what's happening on the front while you are cutting the back.
19.jpg

20.jpg
 

klewis

Brilliant_Rock
Joined
Dec 21, 2008
Messages
871
The inside of the wings, pre-polished before assembly.

21.jpg

22.jpg
 

klewis

Brilliant_Rock
Joined
Dec 21, 2008
Messages
871
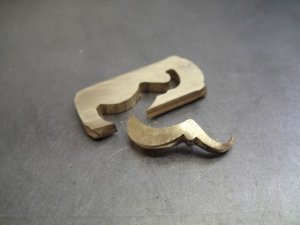
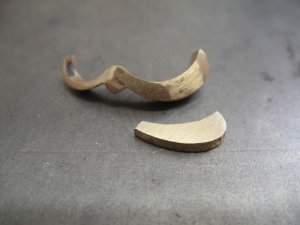
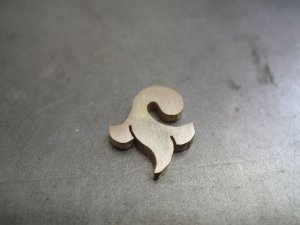
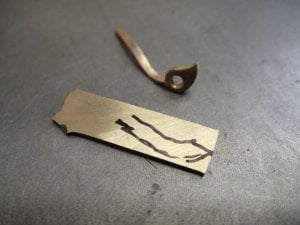
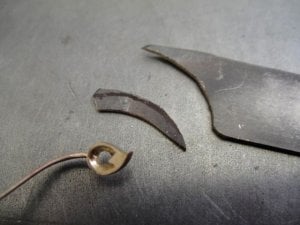
Next I can start on the head, again by cutting it from a flat plate of 18ct.


cut a few lines in the head to allow me to put a tight bend on the piece.


I'll post some more tomorrow

23.jpg

24.jpg
 

megeve

Brilliant_Rock
Joined
Apr 29, 2008
Messages
1,328
Wow klewis, that is so interesting! Thank you for sharing!
 

Treenbean

Brilliant_Rock
Joined
Feb 25, 2010
Messages
798
I would love to be able to do that. Such fine work! What an amazing piece, congrats Klewis :appl: :love: :appl:
 

Kismet

Ideal_Rock
Joined
May 6, 2005
Messages
2,991
That is so neat. I love being taken through the process of making a ring.
 

chrono

Super_Ideal_Rock
Premium
Joined
Apr 22, 2004
Messages
38,364
Mike R. is truly a master craftsman; the level of care and detail taken in the process of making the ring is mind boggling. :-o Thank you for the step by step of your ring. I look forward to reading this thread everyday as you update it.
 

Aoife

Brilliant_Rock
Joined
Jun 23, 2010
Messages
1,779
This is fascinating, and I'm really looking forward to seeing the rest of the process.

Klewis, do you know if he is using a pattern for each piece that he traces on the gold, or is he free-handing the design? In other words, does he have a paper template, or does he look at the original drawing and draw without having to trace around something?
 

GliderPoss

Ideal_Rock
Premium
Joined
Sep 25, 2008
Messages
2,936
Wow this is terrific! Can't wait to see tomorrows pictures.... such amazing craftsmanship.
 

Fly Girl

Ideal_Rock
Joined
Jan 9, 2007
Messages
7,312
This is a really great thread about your beautiful ring. Love it, and looking forward to future installments.
 

klewis

Brilliant_Rock
Joined
Dec 21, 2008
Messages
871
Aoife|1289483361|2761293 said:
This is fascinating, and I'm really looking forward to seeing the rest of the process.

Klewis, do you know if he is using a pattern for each piece that he traces on the gold, or is he free-handing the design? In other words, does he have a paper template, or does he look at the original drawing and draw without having to trace around something?

Hello Aoife - I emailed Mike with your question. He said he works with the design drawing on the bench for reference but draws the design onto the metal, free-hand. He cuts the piece out to the outside of the drawn line so that there's room to fine tune the piece to the correct shape with a file.
 

klewis

Brilliant_Rock
Joined
Dec 21, 2008
Messages
871
Here's another installment of pics.


Once I had the piece bent to shape I soldered the cut lines back up and filed a little shape to the piece


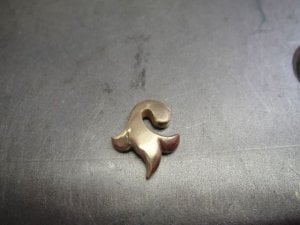
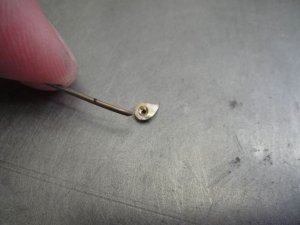
In this pic is the beak for the Phoenix cut from a small piece of 18ct rose gold.

25.jpg

26.jpg
 

klewis

Brilliant_Rock
Joined
Dec 21, 2008
Messages
871
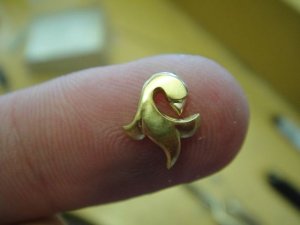
The beak is now soldered to the head.


To make sure once all the pieces are soldered together I end up with a pleasant shape to the ring I first made a wax model of a ring in the correct finger size to use as a guide. This is a similar method as when people papemache over a balloon and then pop the balloon to be left with a hollow dome. The wax will not be used to make any piece of the ring, it is just a form guide.

27.jpg

28.jpg
 

klewis

Brilliant_Rock
Joined
Dec 21, 2008
Messages
871


29.jpg

30.jpg
 

klewis

Brilliant_Rock
Joined
Dec 21, 2008
Messages
871
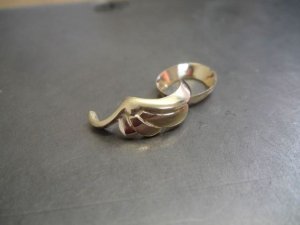
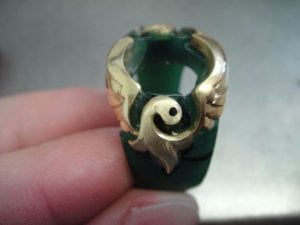
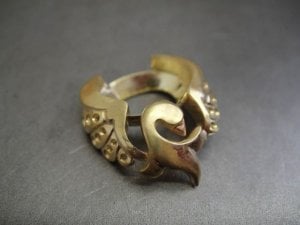
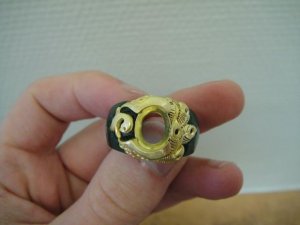
In this pic I have just soldered the wings to the underbezel, the wings become a semi bezel for the spess.

31.jpg

32.jpg
 

klewis

Brilliant_Rock
Joined
Dec 21, 2008
Messages
871
Underside of the setting.


In this pic I have tack soldered the head to the right wing, I can then bend it to the correct angle and solder it to the left wing.

33.jpg

34.jpg
 

klewis

Brilliant_Rock
Joined
Dec 21, 2008
Messages
871
This is the start of one of the tail feathers, first I will solder on the 18ct rose gold spine.

35.jpg

36.jpg
 

klewis

Brilliant_Rock
Joined
Dec 21, 2008
Messages
871
The piece is cut out and ready to be soldered to the feather. You can also see the back of the tip of the feather.


The first half of the feather is now soldered in place.

37.jpg

39.jpg
 

klewis

Brilliant_Rock
Joined
Dec 21, 2008
Messages
871
Once both halves of the feather are soldered to the spine I then cut the individual tail feathers with a 8/0 saw blade.

38.jpg

40.jpg
 

klewis

Brilliant_Rock
Joined
Dec 21, 2008
Messages
871
The tail feathers are then soldered to the head of the ring. Great care is needed during soldering as the heat needed can easily melt the fine tail feathers or let one of the previous solder joints come undone.


Test fitting to make sure I am keeping to the correct overall shape for the ring

41.jpg

44.jpg
 

klewis

Brilliant_Rock
Joined
Dec 21, 2008
Messages
871
I hope this isn't turning into too much of a marathon for you. I'll post more tomorrow.
 

Imdanny

Ideal_Rock
Joined
Jan 21, 2008
Messages
6,186
Of course not! This is great.

I love handmade jewelry and seeing how it's done is very inspiring.
 

virgoruby

Shiny_Rock
Joined
Oct 10, 2009
Messages
476
This is a fantastic thread! I look forward to the next instalment. :appl:
Mike is such a talented artist and craftsman, and you are so lucky to have such a wonderful jeweller, who is also local (right?) to you..
 

JewelFreak

Ideal_Rock
Joined
Sep 3, 2009
Messages
7,768
I'm looking forward to more! Absolutely fascinating & informative. Can't help thinking about his process when he first figured out how to make this design. Thanks for posting.

--- Laurie
 
Be a part of the community Get 3 HCA Results
Top