icy_jade
Ideal_Rock
- Joined
- May 1, 2009
- Messages
- 6,131
I've been curious about pearl photography ever since I read the posts about "glamour shots" vs real life pearls AND saw PP's photography studio from 4RG and NL's video broadcast.
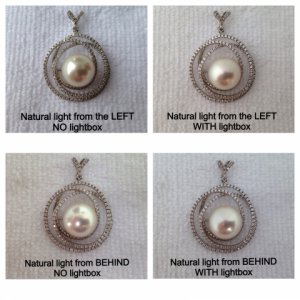
I liked how GemGeek/Blaire from the other forum said so succinctly and accurately on the other forum's photography thread (think links to other forums are not allowed) "...if your photo is for the purpose of selling, you want it to look as close as possible to the real thing so that your customer will not be disappointed and return the item. You want it to look good, but not too good. The very best thing to do in this case is to include multiple photos in different light. You have no control over the light when the customer first opens the box, so having more than one lighting example will prepare them for what they first see ".
Ah, so true. As a buyer, I can totally relate to the disappointment when the pearls DO NOT match up to the glamour shots. If only more retailers take this advice into consideration.
BUT, I do understand the need for consistency and for beautiful photos to sell pearls. Plus as I try to take pictures of my pearls, I understand how challenging it is. Oh, and just using an iPhone too.
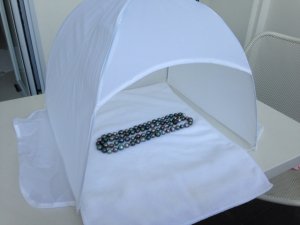
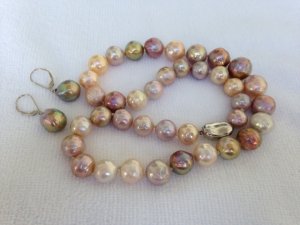
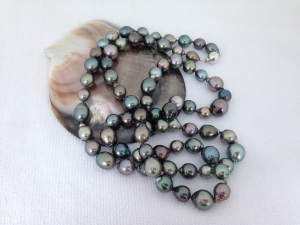
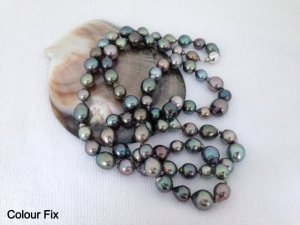
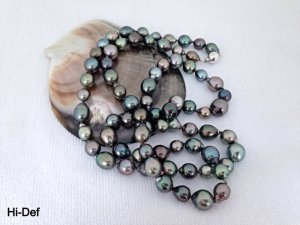
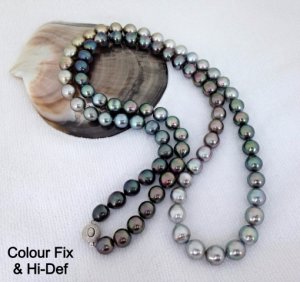
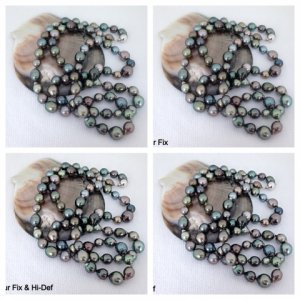
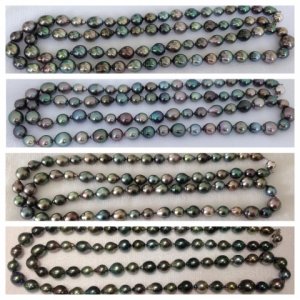
So since I had a wee bit of time late this afternoon (5-ish) just before the natural light quality deteriorated too much, I dug up a small light box that I bought ages ago and never used, and a white towel. Along with my trusty iPhone, I took a few photos just to experiment and see how well I can glamourise my pearls. Here's a behind the scene look on my balcony table:
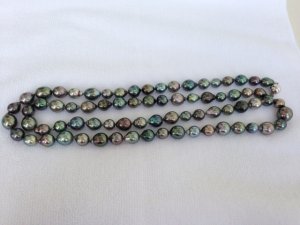
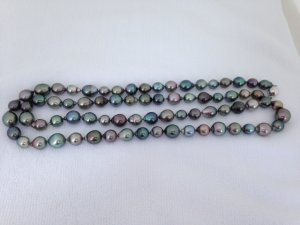
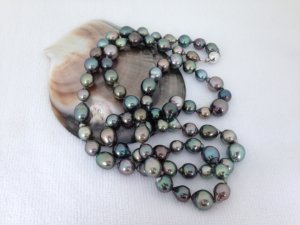
All photographs that follow are taken without flash and with no photoshop done. Actually I don't have any lamps or a flash so I have to use natural light. Luckily Singapore is just 137 km (85 miles) or 1 degree north of the equator so when it isn't pouring we get decent (usually overdose) amount of sunlight.
I hope you like the photos and any photography tips (or requests) are welcome.
On with pics!



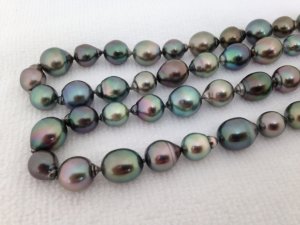
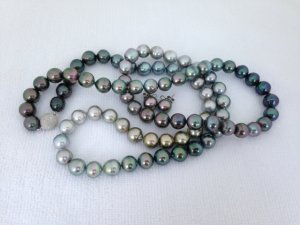
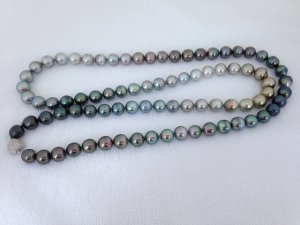
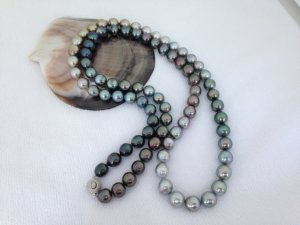
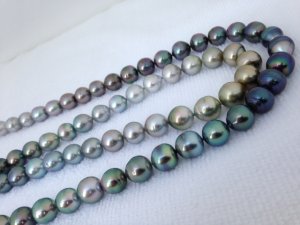
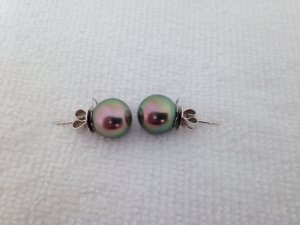
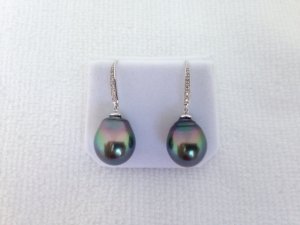
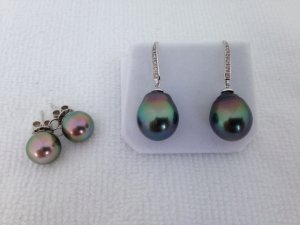

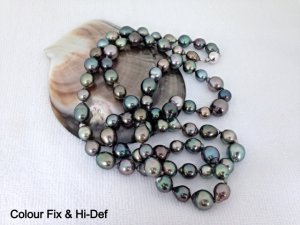
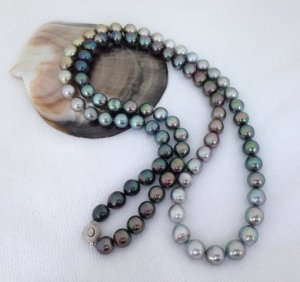
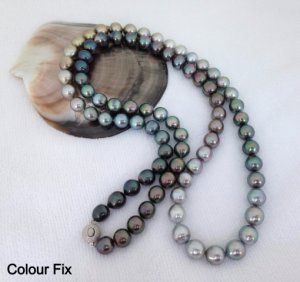
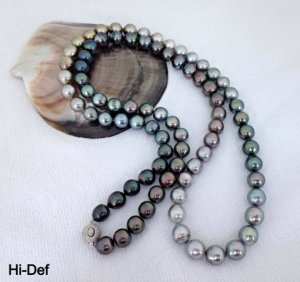

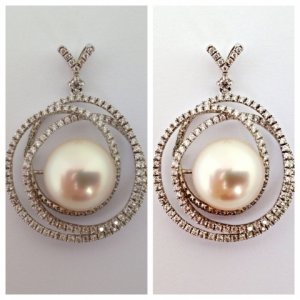
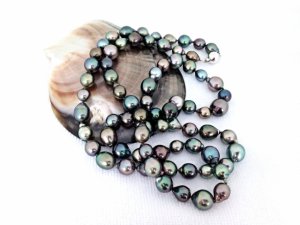

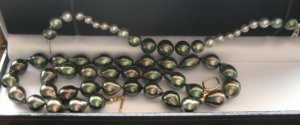
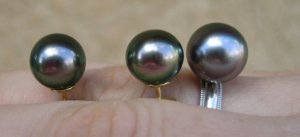


300x240.png)