texirish
Rough_Rock
- Joined
- Jan 25, 2010
- Messages
- 92
The idea for this thread came from another thread about my Whiteflash custom that I'm having built: https://www.pricescope.com/community/threads/custom-whiteflash-cad-rendering-is-here-thoughts-opinions.136622/
I liked my CAD design, but I was worried that it seemed too bulky. The CAD designer had tried to explain in the email that it was meant to be bulky because it would be sanded, polished, and engraved down after casting so a certain amount of metal would be lost in that process...
Here are a few things to consider when viewing your CAD renderings:
1) Although CAD Renderings are computer generated images, the actual object made using CAD will be produced into a wax by a process called 'rapid prototyping'. This wax will be used to cast your Custom Design into the metal that you chose. So what you see in the CAD Renderings will actually be what our Jewelers start with in a rough metal casting.
2) The Casting will go through 3 processes that eliminate metal on the entire surface of your Custom Design:
a) The casting process itself will eliminate a small amount of metal on the entire surface of the Custom Design.
b) Since the casting comes out a bit rough and textured, our skilled jewelers will need to use very fine grain sand paper and metal files to make the metal casting smooth to the touch. Although this process eliminates a layer of metal across the entire surface of your Custom Design, this process also preps the metal casting for polishing.
c) Finally, the Custom Design needs to be polished to a bright reflective finish using a polishing wheel, which can spin at approximately 25,000 rpm (more than 6 times the average rpm of a car's engine). This step will also eliminate metal on the entire surface of the Custom Design.
3) Because of these processes, the CAD Renderings will make the Custom Design appear a bit bulky and the edges will appear a bit too sharp. However when your Custom Design is finished, the bulk will be eliminated and the edges will be softened.
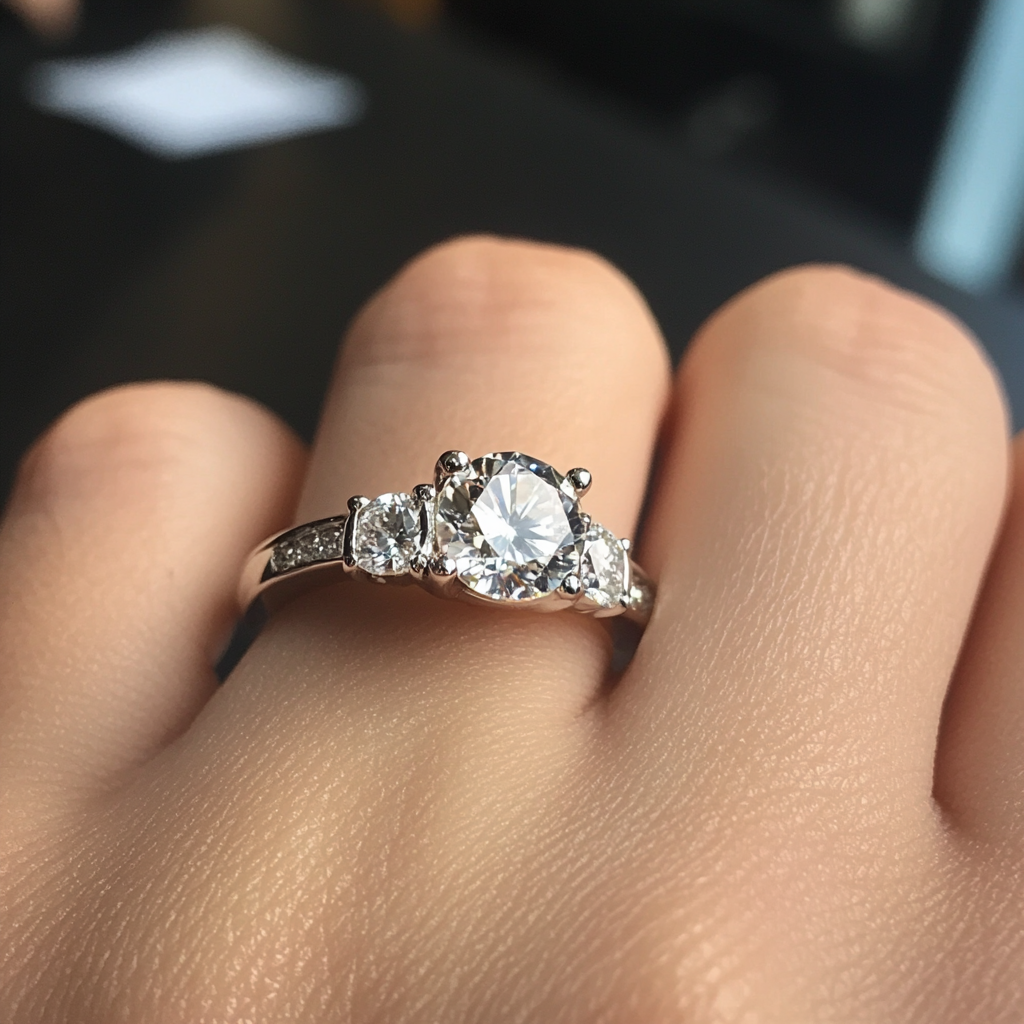
4) You may also notice that your prongs stick up past the top of the stone(s). Please do not worry. The prongs are made extra long so the stone setter can bend them more easily when he sets your stones. After the stone(s) are set, the stone setter will clip away the extra material so the prongs will be below the table of the stone and above the girdle.
Still, I'm a rookie at all of this, and its hard to imagine just "how much" metal was going to be lost in the process. So I looked for some comparison shots of a CAD vs the final product and didn't really find anything.
But thats where reggie and Sheerah at Whiteflash get major props for being behind this thread:
He gave me links to a thread about Maisie's new halo design with the CAD and then a thread of actual shots. Then later on when I spoke with Sheerah at Whiteflash, she was awesome and sent me a TON of images. I took them all and placed them side by side (CAD's on the left, finished on the right) so everyone can get a better idea of what to expect from the CAD to the final product. It opened my eyes some, and I'm definitely happy I could make the comparisons! Hopefully this thread can be a resource to others and can help them out as much Pricescope has me!
So without further ado, I'm going to upload all the pics I put together, starting with Maisie's! Enjoy!!!

I liked my CAD design, but I was worried that it seemed too bulky. The CAD designer had tried to explain in the email that it was meant to be bulky because it would be sanded, polished, and engraved down after casting so a certain amount of metal would be lost in that process...
Here are a few things to consider when viewing your CAD renderings:
1) Although CAD Renderings are computer generated images, the actual object made using CAD will be produced into a wax by a process called 'rapid prototyping'. This wax will be used to cast your Custom Design into the metal that you chose. So what you see in the CAD Renderings will actually be what our Jewelers start with in a rough metal casting.
2) The Casting will go through 3 processes that eliminate metal on the entire surface of your Custom Design:
a) The casting process itself will eliminate a small amount of metal on the entire surface of the Custom Design.
b) Since the casting comes out a bit rough and textured, our skilled jewelers will need to use very fine grain sand paper and metal files to make the metal casting smooth to the touch. Although this process eliminates a layer of metal across the entire surface of your Custom Design, this process also preps the metal casting for polishing.
c) Finally, the Custom Design needs to be polished to a bright reflective finish using a polishing wheel, which can spin at approximately 25,000 rpm (more than 6 times the average rpm of a car's engine). This step will also eliminate metal on the entire surface of the Custom Design.
3) Because of these processes, the CAD Renderings will make the Custom Design appear a bit bulky and the edges will appear a bit too sharp. However when your Custom Design is finished, the bulk will be eliminated and the edges will be softened.
4) You may also notice that your prongs stick up past the top of the stone(s). Please do not worry. The prongs are made extra long so the stone setter can bend them more easily when he sets your stones. After the stone(s) are set, the stone setter will clip away the extra material so the prongs will be below the table of the stone and above the girdle.
Still, I'm a rookie at all of this, and its hard to imagine just "how much" metal was going to be lost in the process. So I looked for some comparison shots of a CAD vs the final product and didn't really find anything.
But thats where reggie and Sheerah at Whiteflash get major props for being behind this thread:
Date: 2/18/2010 12:49:38 PM
Author: reggie
On a side note I think it would be great if pricescope had a sticky thread of a whole bunch of CAD renderings and then the final product next to it. Then anyone contemplating going custom with a vendor who uses cad can get an idea how the finish product really turns out.
If a person is a novice at buying a ring and compound that with going the custom route, I can see how all these unknowns would start to make anyone feel very paranoid about this whole process. Then add the layer of this is all being done on the internet can give that person a perceived notion that there is zero room for error.
He gave me links to a thread about Maisie's new halo design with the CAD and then a thread of actual shots. Then later on when I spoke with Sheerah at Whiteflash, she was awesome and sent me a TON of images. I took them all and placed them side by side (CAD's on the left, finished on the right) so everyone can get a better idea of what to expect from the CAD to the final product. It opened my eyes some, and I'm definitely happy I could make the comparisons! Hopefully this thread can be a resource to others and can help them out as much Pricescope has me!
So without further ado, I'm going to upload all the pics I put together, starting with Maisie's! Enjoy!!!


300x240.png)