- Joined
- Mar 25, 2009
- Messages
- 298
Hi all,
I'm not normally inclined to post unfinished photos of my work. But at the urging of several on this board, and with permission of the moderator, the following collection of photos is a layout of the process of working on a rough gem and taking it to completion. I realize this has probably been done before, but due to the unique character of this piece I felt there may be value in sharing the process here.
This particular piece starts out as a 25.40ct pastel green Grossular Garnet from the Merelani mining site in Tanzania; not far from where Tanzanite is routinely mined. As to where this piece started out, the most recent major pocket or collection of larger minty-colored Garnet was mined in mid-December of 2010. It was then sold and distributed over the coming weeks to several international buyers. I arrived just a couple of weeks later in early January - hoping to capitalize on the moment. While I did come away with several significant pieces which have all since sold, I had to travel to Bangkok a few weeks ago to negotiate for this particular beauty. And yes, the effort was worth it. As you will see in coming photos, it finished out to a nice size and has already shipped to a new home. So here goes....
Weight started out at just over 5-grams.
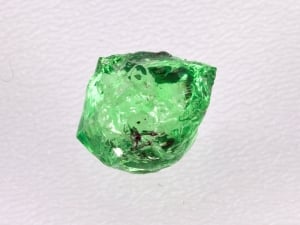
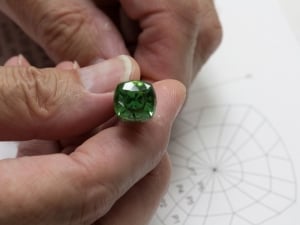
As you can see above on a very light colored background, it does not look really promising. In the hand though, it is something to behold.

As a general rule, I do not normally use my lapidary machine for preforming of the rough stones. But, in this case, as the rough was quite expensive, I did not want to pass up a more secure way to form the final shape - without wasting any more than is necessary of the host rough.
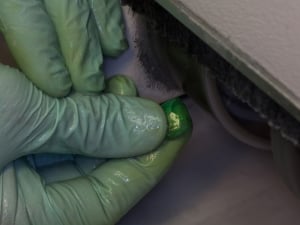
Getting a view as the outline is coming together. Notice the soapy effect to the water on the gloves - I suspect other lapidaries may put a little soap into their water sources as well as it make the final clean up a little easier.

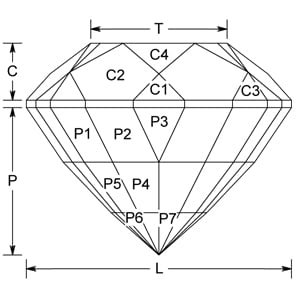
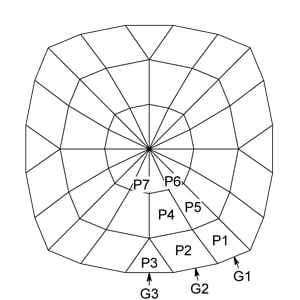
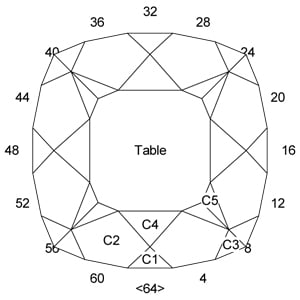
A little closer to the final shape. Not stated earlier, but it will end up as a classic square antique cushion.
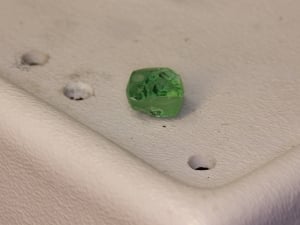
And now a little further re-shaping of the rough.
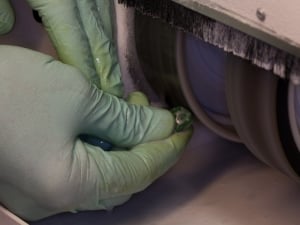
Nearly finished with preforming, and now making decisions as to final shaping. We're talking here about removing very small amounts to get the side alignments just a little closer. As in several tenths' of a millimetre.
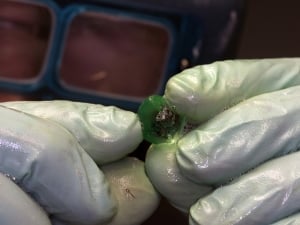
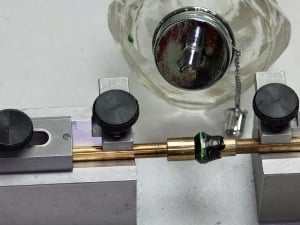
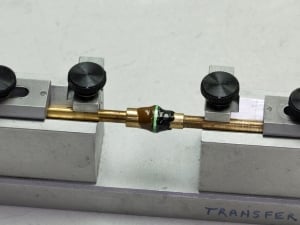
Preforming is finished, and taking a moment to clean off any residue from the roughing process. It is imperative to have the rough stone as clean as possible before dopping as we want to develop the strongest bond possible.
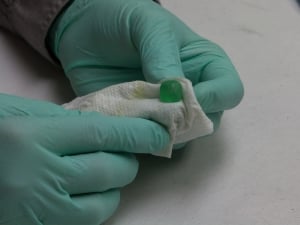
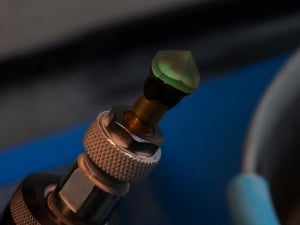
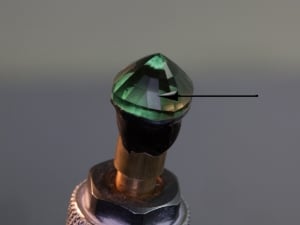
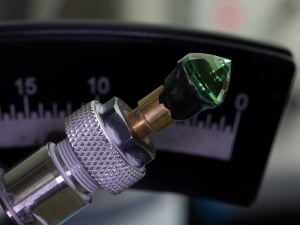
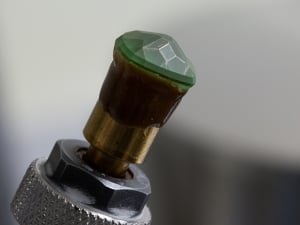
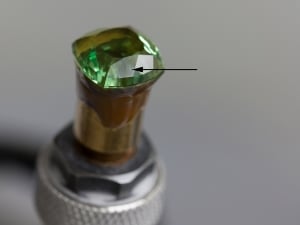
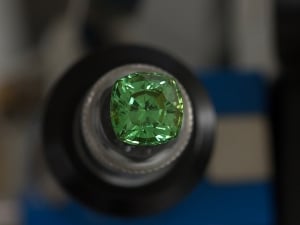
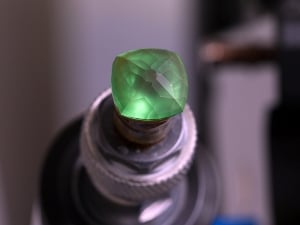
Finished out with a pleasing shape and outline. And is now ready to be attached to a dop-stick.
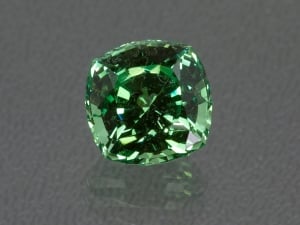
*almost looks like a piece of candy!

Have to break for a spell to complete a project today, but will come back later with follow up photos of the faceting and polishing process. I hope you find this interesting, and maybe a little enchanting as the whole process can take a fair bit of time.
I'm not normally inclined to post unfinished photos of my work. But at the urging of several on this board, and with permission of the moderator, the following collection of photos is a layout of the process of working on a rough gem and taking it to completion. I realize this has probably been done before, but due to the unique character of this piece I felt there may be value in sharing the process here.
This particular piece starts out as a 25.40ct pastel green Grossular Garnet from the Merelani mining site in Tanzania; not far from where Tanzanite is routinely mined. As to where this piece started out, the most recent major pocket or collection of larger minty-colored Garnet was mined in mid-December of 2010. It was then sold and distributed over the coming weeks to several international buyers. I arrived just a couple of weeks later in early January - hoping to capitalize on the moment. While I did come away with several significant pieces which have all since sold, I had to travel to Bangkok a few weeks ago to negotiate for this particular beauty. And yes, the effort was worth it. As you will see in coming photos, it finished out to a nice size and has already shipped to a new home. So here goes....
Weight started out at just over 5-grams.

As you can see above on a very light colored background, it does not look really promising. In the hand though, it is something to behold.

As a general rule, I do not normally use my lapidary machine for preforming of the rough stones. But, in this case, as the rough was quite expensive, I did not want to pass up a more secure way to form the final shape - without wasting any more than is necessary of the host rough.

Getting a view as the outline is coming together. Notice the soapy effect to the water on the gloves - I suspect other lapidaries may put a little soap into their water sources as well as it make the final clean up a little easier.

A little closer to the final shape. Not stated earlier, but it will end up as a classic square antique cushion.

And now a little further re-shaping of the rough.

Nearly finished with preforming, and now making decisions as to final shaping. We're talking here about removing very small amounts to get the side alignments just a little closer. As in several tenths' of a millimetre.

Preforming is finished, and taking a moment to clean off any residue from the roughing process. It is imperative to have the rough stone as clean as possible before dopping as we want to develop the strongest bond possible.

Finished out with a pleasing shape and outline. And is now ready to be attached to a dop-stick.
*almost looks like a piece of candy!

Have to break for a spell to complete a project today, but will come back later with follow up photos of the faceting and polishing process. I hope you find this interesting, and maybe a little enchanting as the whole process can take a fair bit of time.












300x240.png)