missydebby
Brilliant_Rock
- Joined
- Apr 2, 2010
- Messages
- 1,815
I've posted this kind of stuff before on my blog/facebook, and people seem to really enjoy seeing the process. I'll post pictures of all the distinct phases. Enjoy!
First, I choose the photo. Often I'll go the the Creative Commons section of Flickr. There is then a subsection of photos people upload with explicit freedom to use/manipulate. On the back of my paintings, I credit the original photographer.
Here's the original photo:
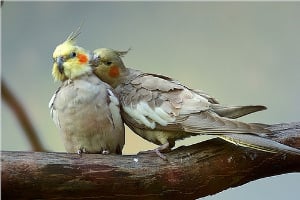
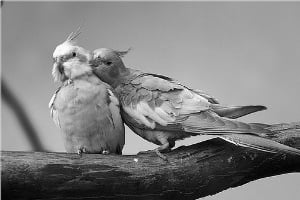
Next, I make it a black and white photo. This is so I can see the form better, and not get distracted by the colors.
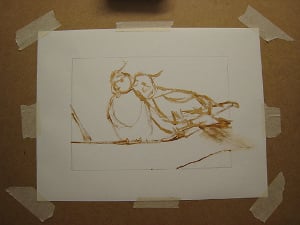
Then I "draw" (with paint) the initial outlines. I'm just using white and burnt umber water based oil paint.
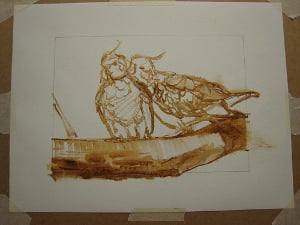
Next I start to basically throw in the form. I'm trying to get myself beyond only looking at boundaries and outlines, and more in terms of 3D basic forms like organically shaped cones, and pyramids, and cubes.
Time to hunker down. I paint in the big branch. As I lay in the details, I'm trying to be ever mindful to keep seeing the forms. It's very very easy to look at each different little detail and focus on the detail's outline and only the value changes within that detail or it's neighbor. If you do that, you start missing the forest for the trees and you will lose the main "thingness" of the object. So keep it looking like a branch as I painted, I kept myself seeing it as essentially a cone.
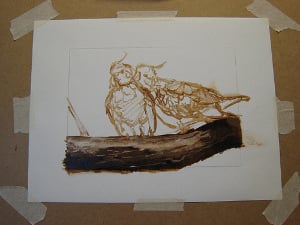
Next, I paint in the shy lady on the left. The more little details, the harder it is for me to stay focused! I have to really stay self disciplined and think of each shape in 3D, and refrain from outlining either the whole bird or her feathers. Also, I am giving just a little bit of a different character to her: a surprised but not disappointed lover.
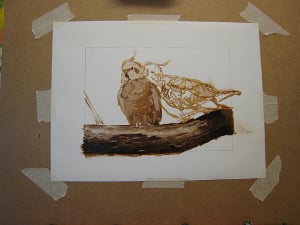
Time for the dude. I did a little editing of his back feathers: no feathers lying down the branch and tail feather going out of the line. When I frame it. I'll have the feather actually coming out onto the mat. Never done that before but I think it'll give it a nice humor. In this phot0, I got some of the basic shading down but hesitating on the hard parts. Then I go and take a break and have a little din din.
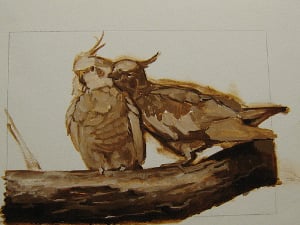
After dinner, I was refreshed to hunkerdown. I paint in the details of the feathers. I try to balance focus and un-focus. I don't want to deliniate everything, because I prefer to have it breath more. If you notice, IRL if you are looking at one part of a scene, the rest sorta fuzzes out. So some things I delineate and others I leave more blocked.
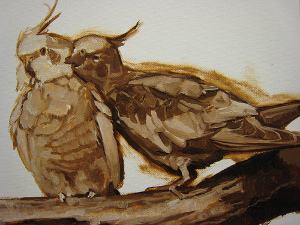
And the view from my chair. Time spent so far: 3.5 non-continuous hours.
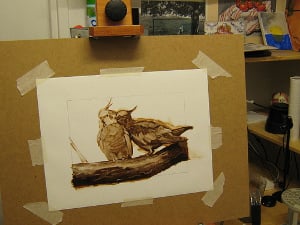
Now that the underpainting is done, I'll let it dry for a few days, and then begin to add color. When those are done, I'll upload again. Cheers!
First, I choose the photo. Often I'll go the the Creative Commons section of Flickr. There is then a subsection of photos people upload with explicit freedom to use/manipulate. On the back of my paintings, I credit the original photographer.
Here's the original photo:

Next, I make it a black and white photo. This is so I can see the form better, and not get distracted by the colors.

Then I "draw" (with paint) the initial outlines. I'm just using white and burnt umber water based oil paint.

Next I start to basically throw in the form. I'm trying to get myself beyond only looking at boundaries and outlines, and more in terms of 3D basic forms like organically shaped cones, and pyramids, and cubes.

Time to hunker down. I paint in the big branch. As I lay in the details, I'm trying to be ever mindful to keep seeing the forms. It's very very easy to look at each different little detail and focus on the detail's outline and only the value changes within that detail or it's neighbor. If you do that, you start missing the forest for the trees and you will lose the main "thingness" of the object. So keep it looking like a branch as I painted, I kept myself seeing it as essentially a cone.

Next, I paint in the shy lady on the left. The more little details, the harder it is for me to stay focused! I have to really stay self disciplined and think of each shape in 3D, and refrain from outlining either the whole bird or her feathers. Also, I am giving just a little bit of a different character to her: a surprised but not disappointed lover.

Time for the dude. I did a little editing of his back feathers: no feathers lying down the branch and tail feather going out of the line. When I frame it. I'll have the feather actually coming out onto the mat. Never done that before but I think it'll give it a nice humor. In this phot0, I got some of the basic shading down but hesitating on the hard parts. Then I go and take a break and have a little din din.

After dinner, I was refreshed to hunkerdown. I paint in the details of the feathers. I try to balance focus and un-focus. I don't want to deliniate everything, because I prefer to have it breath more. If you notice, IRL if you are looking at one part of a scene, the rest sorta fuzzes out. So some things I delineate and others I leave more blocked.

And the view from my chair. Time spent so far: 3.5 non-continuous hours.

Now that the underpainting is done, I'll let it dry for a few days, and then begin to add color. When those are done, I'll upload again. Cheers!




300x240.png)